Buzz Feiten tuning system retrofit on drop-G Guitar!
In 2018, Leigh travelled to Tugaske, Saskatchewan to be trained as a guitar tech (check out Timeless Instruments for your guitar tech training – David Freeman is a great instructor). In that course, he learned how to do “proper” setups and how to install the Buzz Feiten tuning system retrofit. Having procrastinated somewhat for two years, aside from collecting the necessary tools in that time (a whopping $3000 expense overall), finally he broke ground on the refurbishment and installation of the Buzz Feiten system on his Guild GAD-40CE.
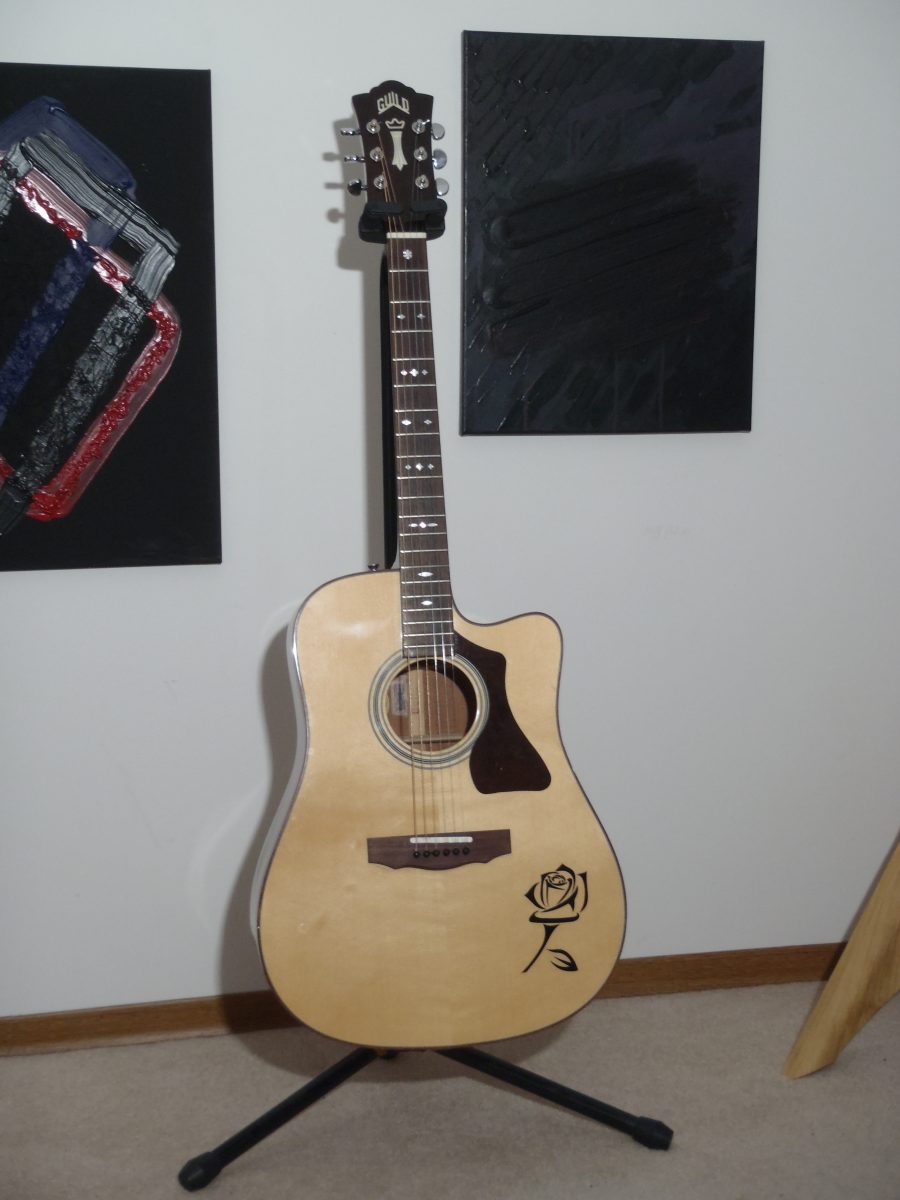
The guitar was purchased in 2009 for about $700 and had been down-tuned to C-standard for most of its life. A new chapter in its existence was to begin with up-tuning to drop G. String gauges are 7 to 40.
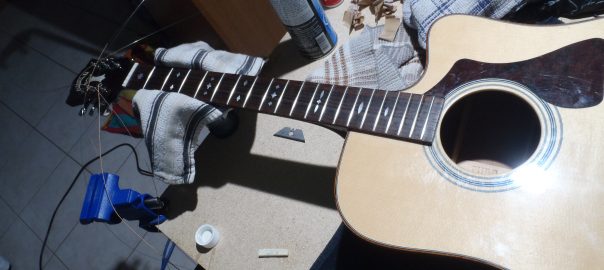
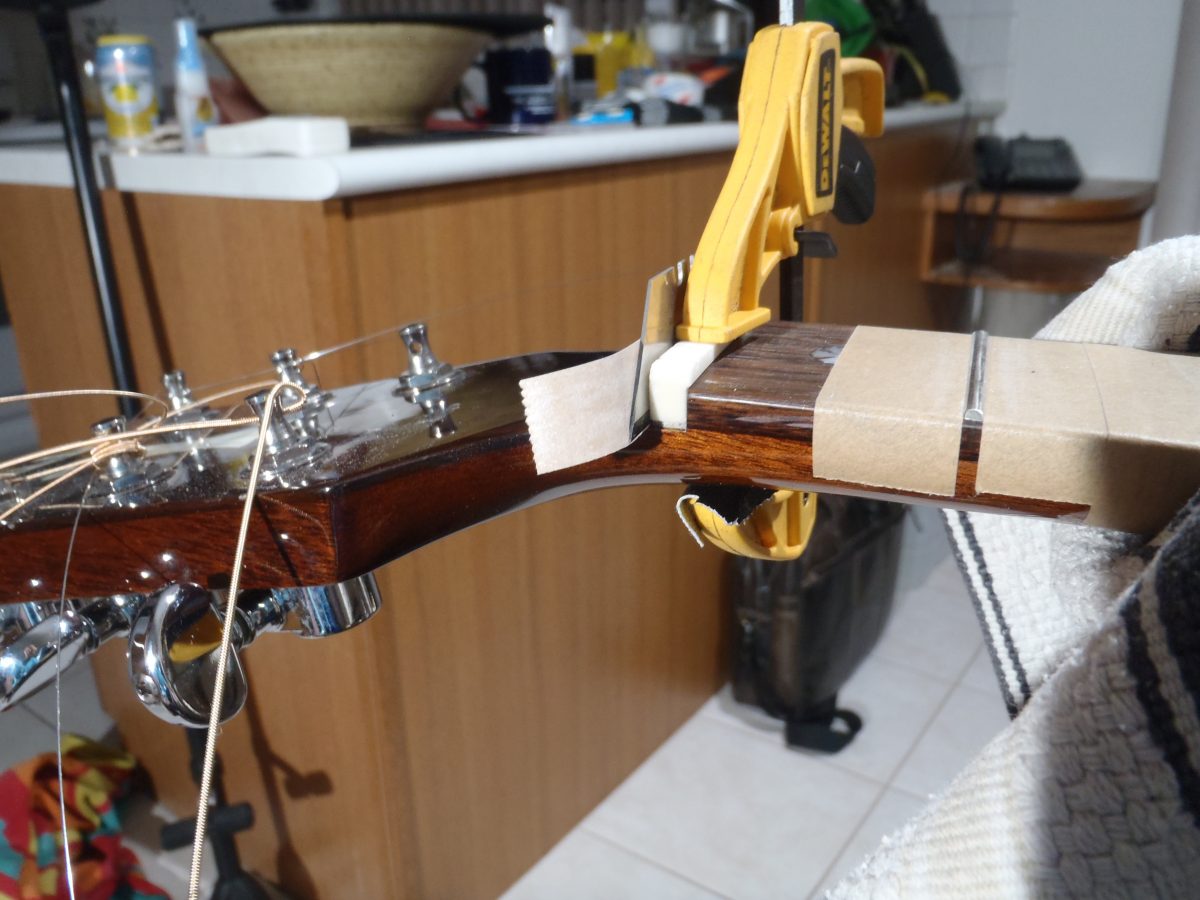
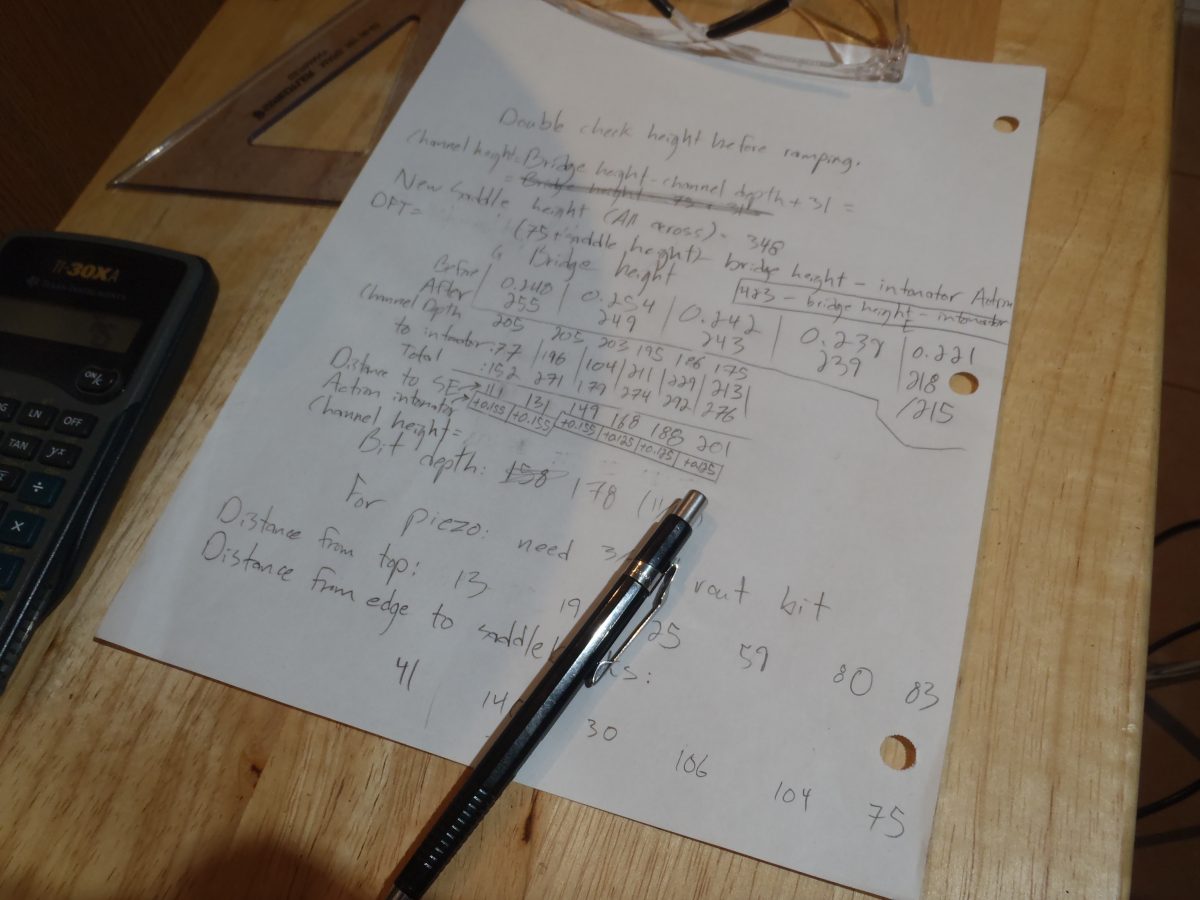
A device called the Intonator (which allows on-the-fly adjustment of saddle position) was temporarily installed in order to tune the guitar to standard intonation prior to installing Buzz Feiten. Action and relief was fine-adjusted before Buzz Feiten installation started.
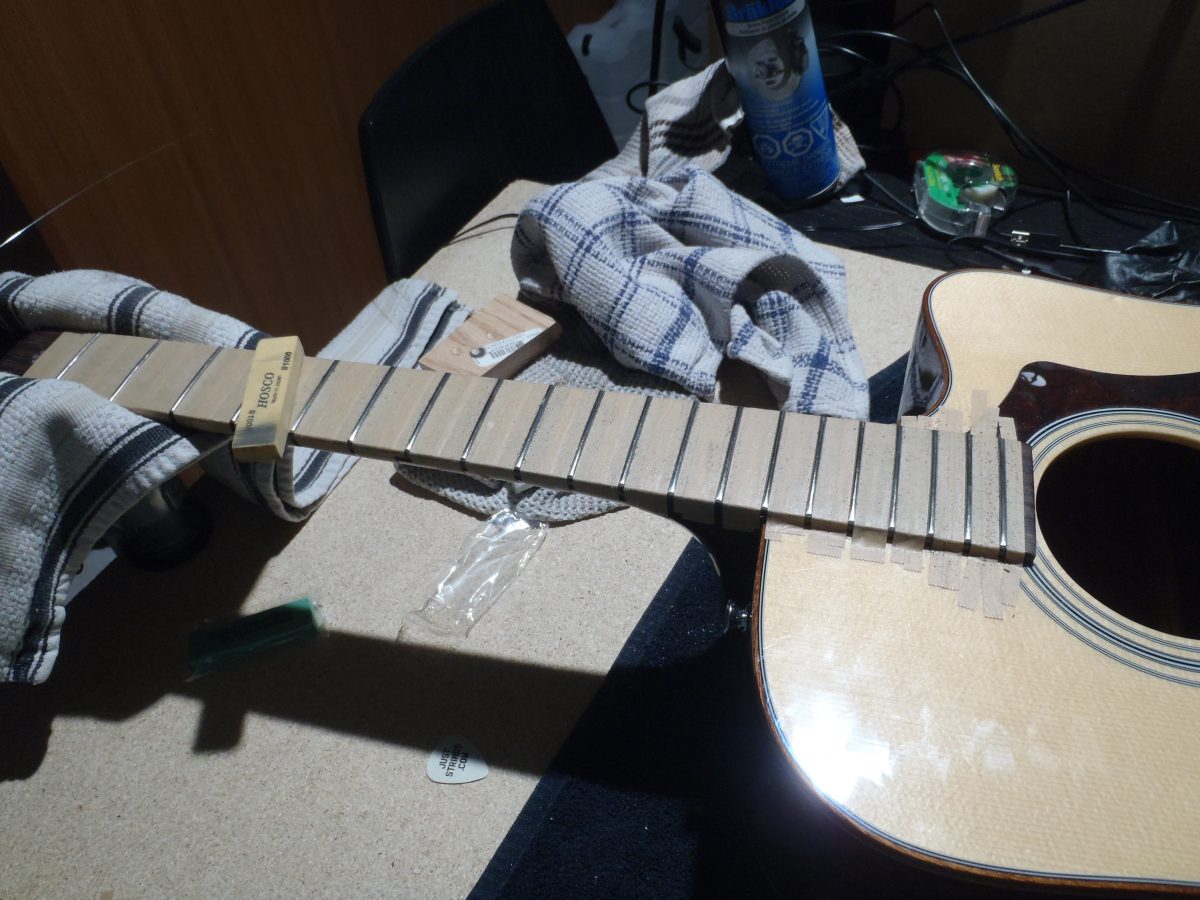
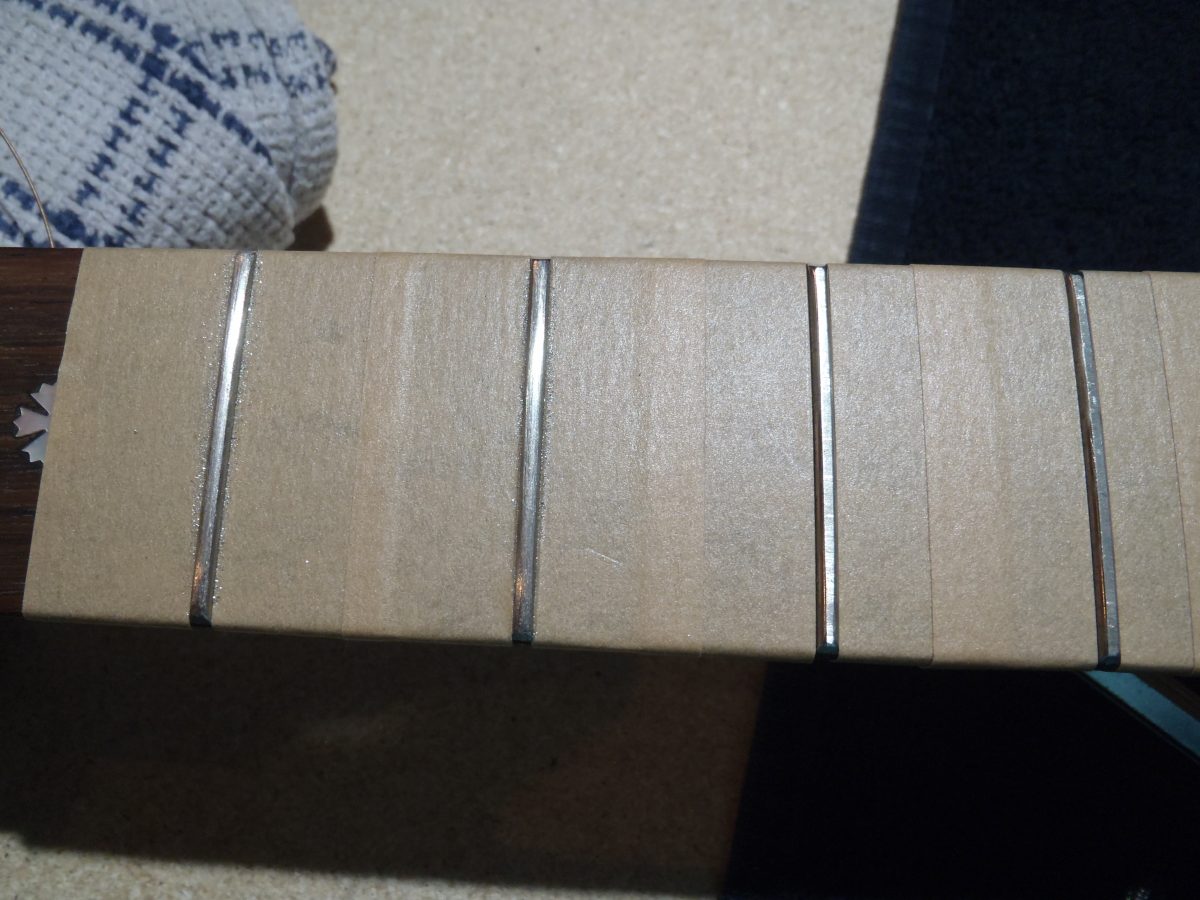
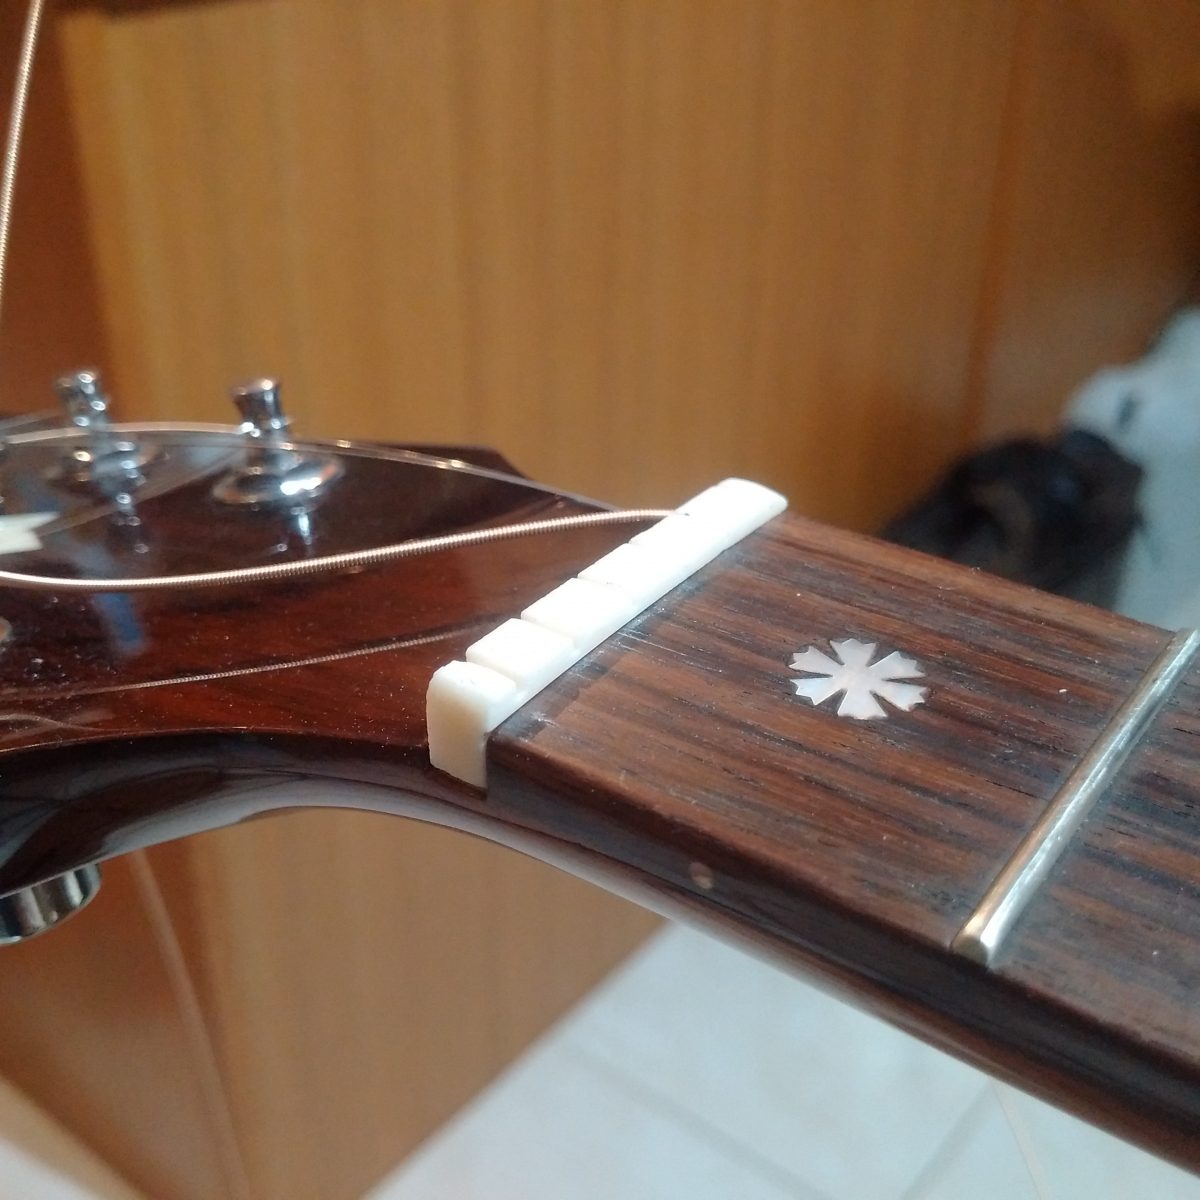
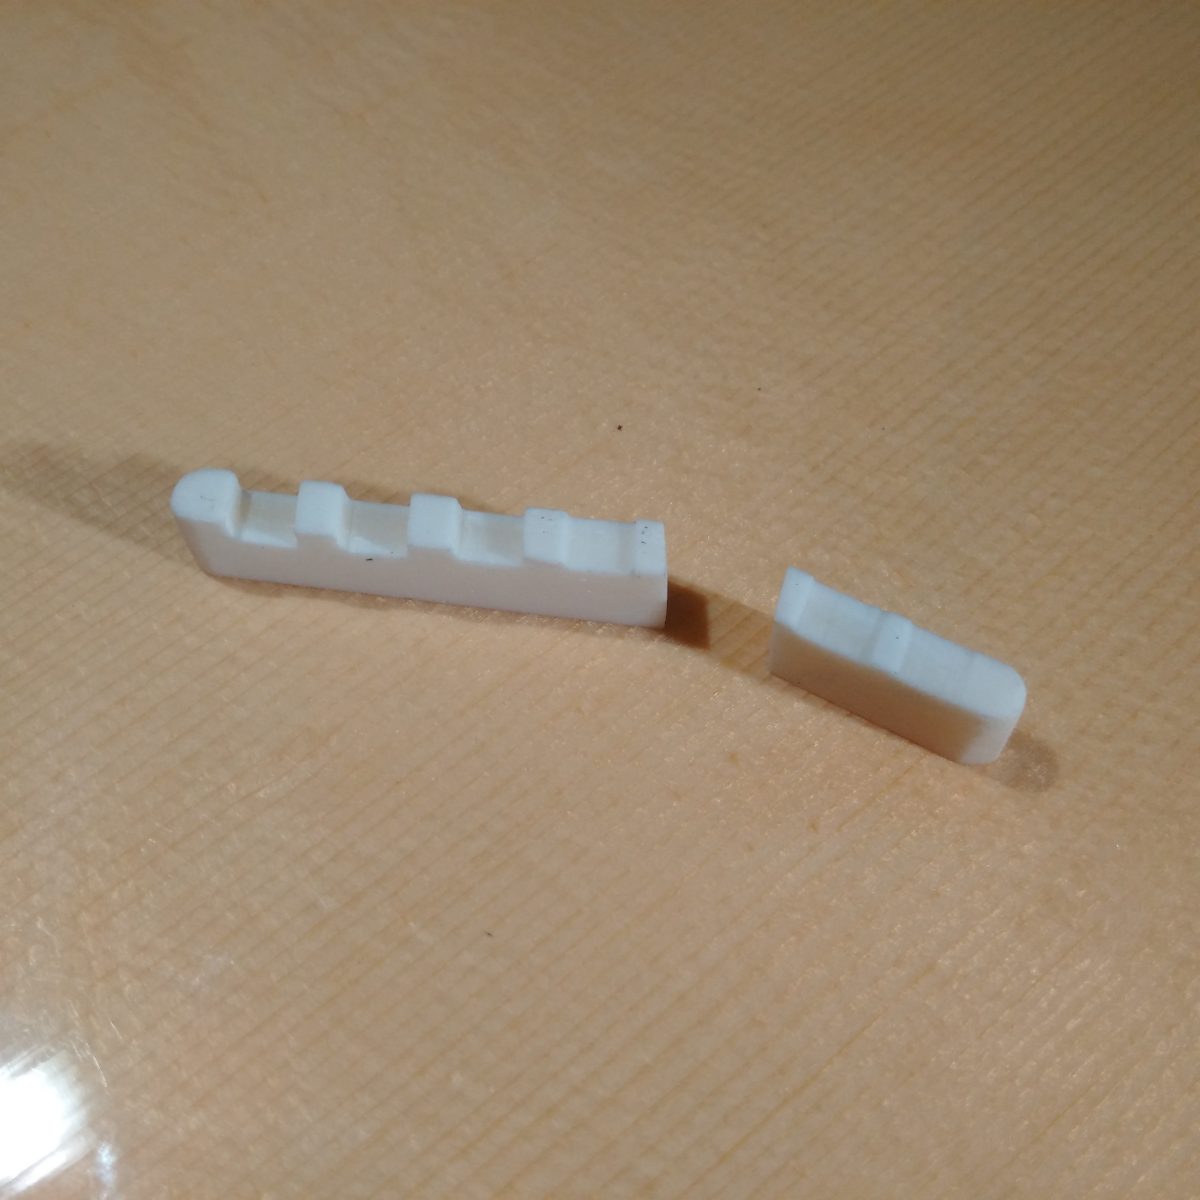
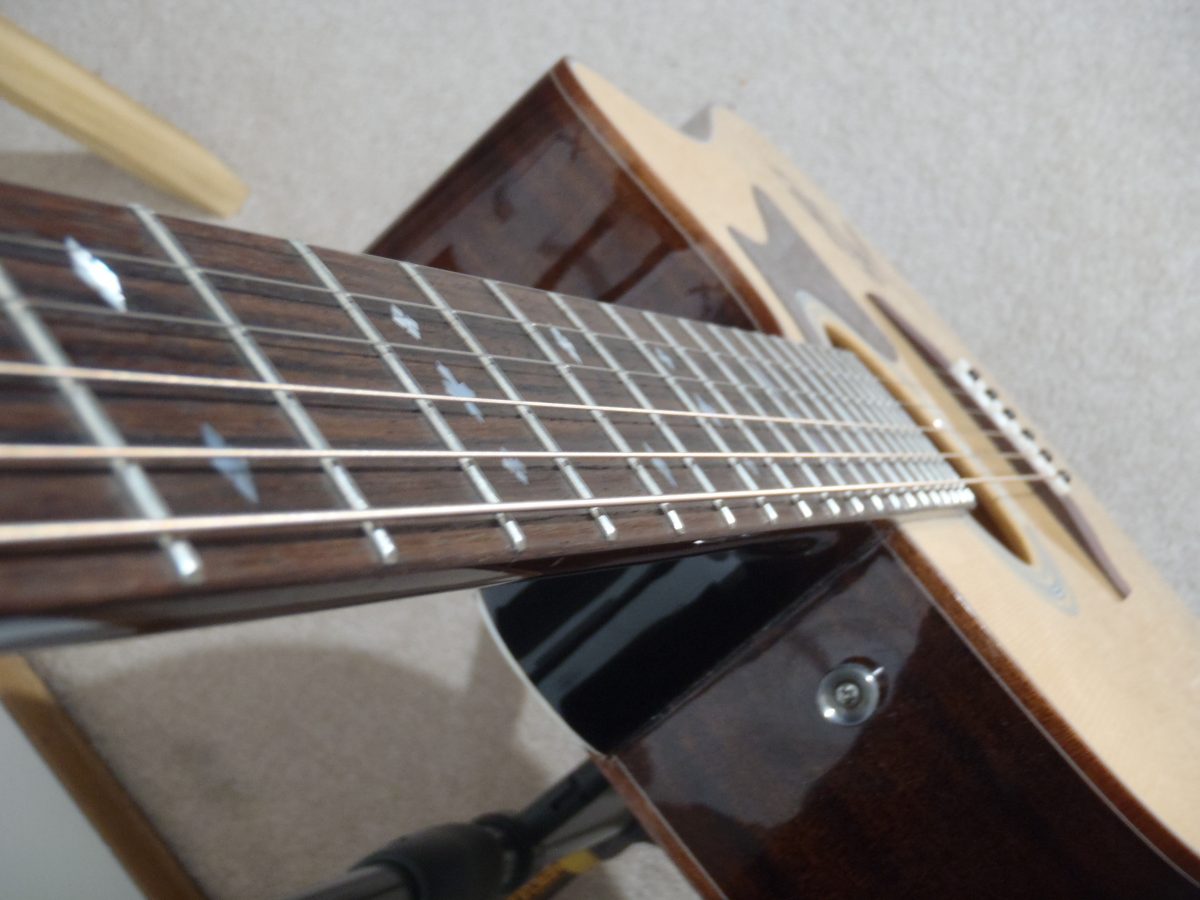
The Buzz Feiten proprietary shelf nut was getting ready to be fabricated. Frets were checked, and it was obvious that the guitar needed a complete fret level and re-crown and polish – perfect frets are required if you’re going to get the most out of the Buzz Feiten system.
The fretwork took several hours, and in the end was well worth it.
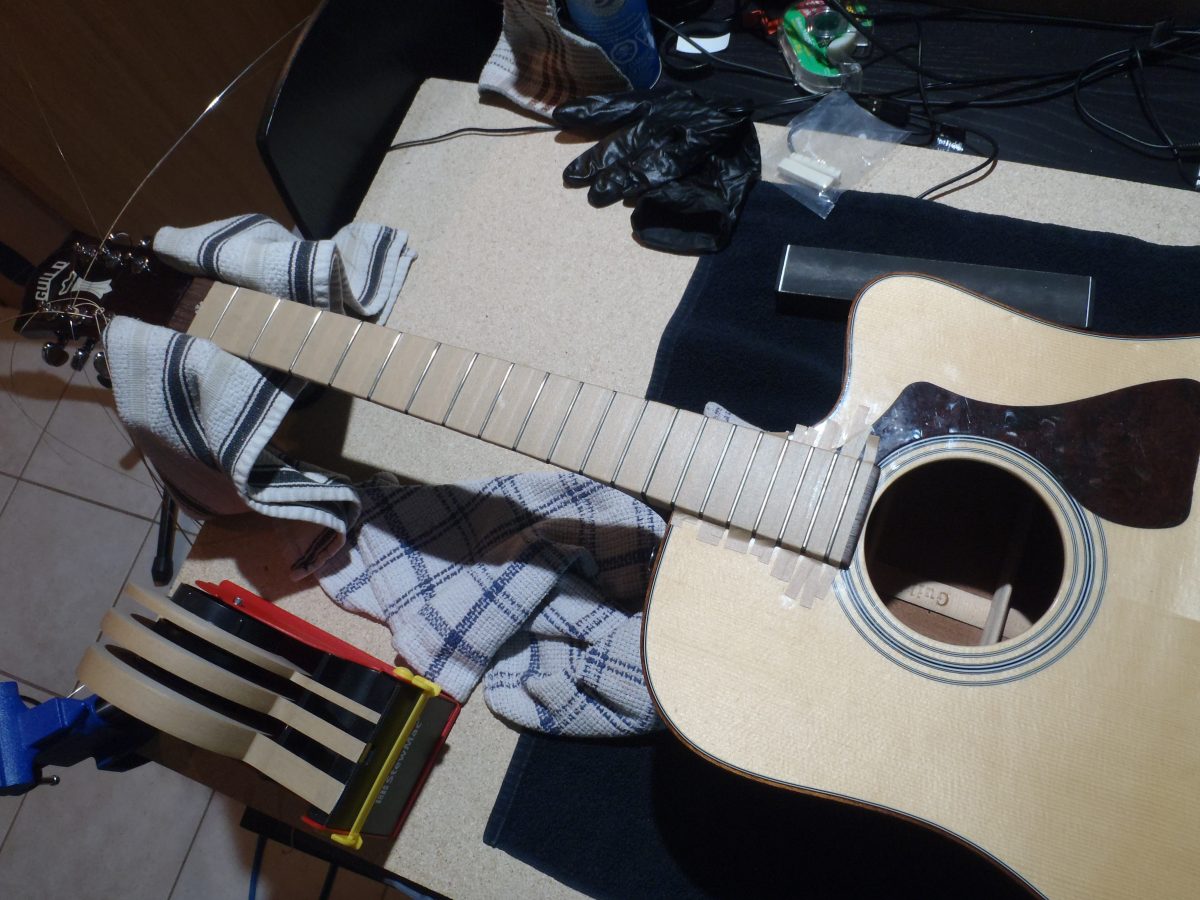
Fretboard taped off. Always use protection when filing things
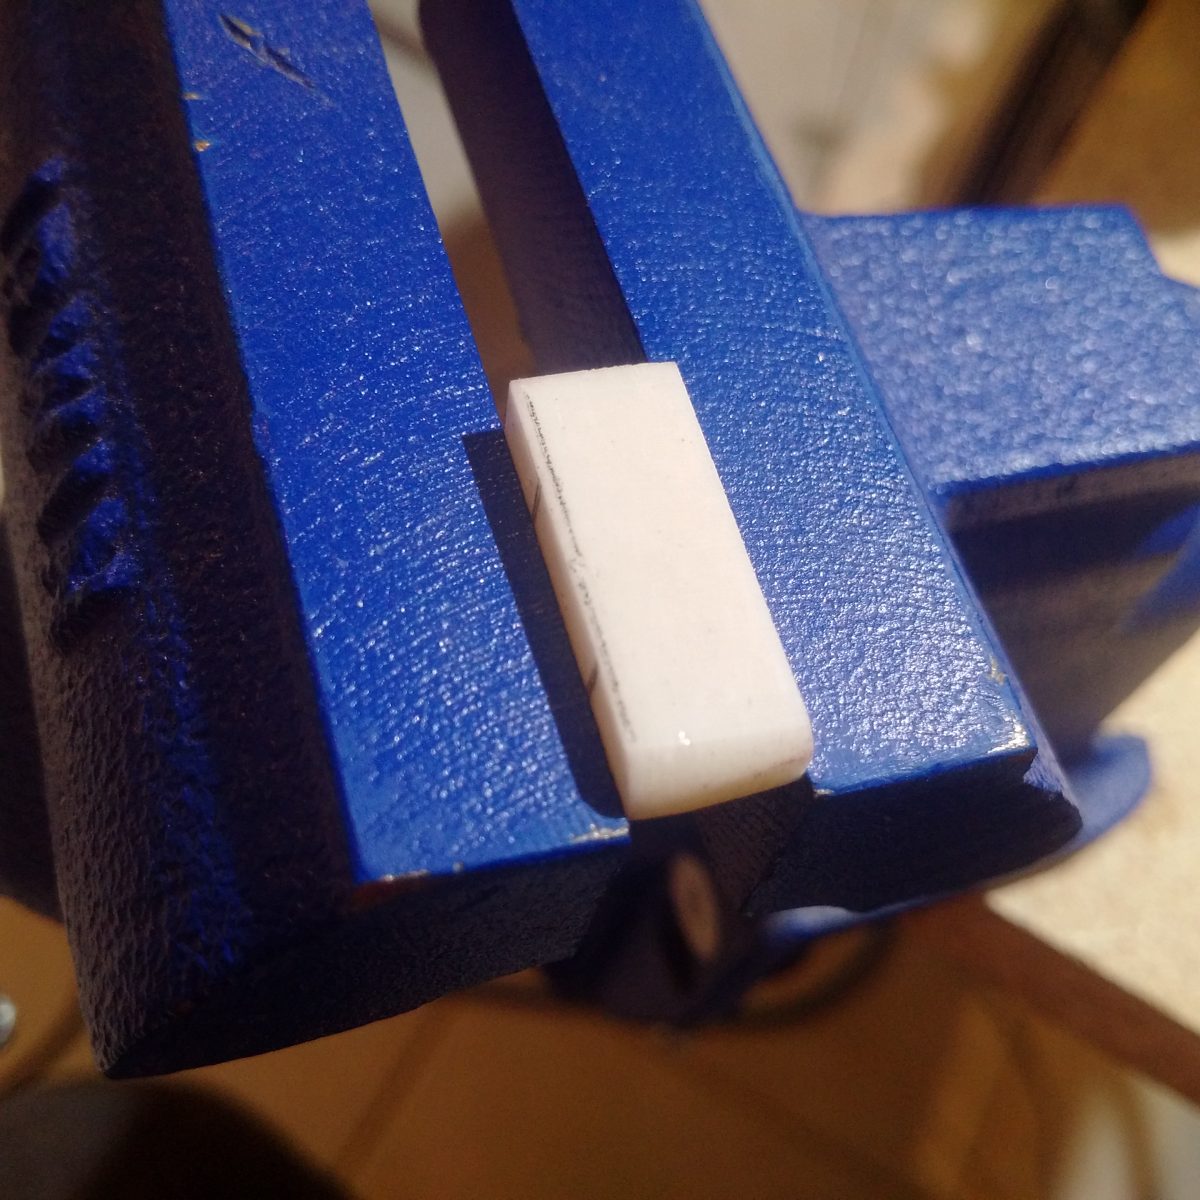
The shelf nut was fashioned and sanded to be a perfect fit. Nut slots were made to custom size and measured to an accurate depth for comfortable action at the first fret (also very important for the Buzz Feiten system).
Next, the intonator was adjusted with the proprietary Buzz Feiten intonation points.
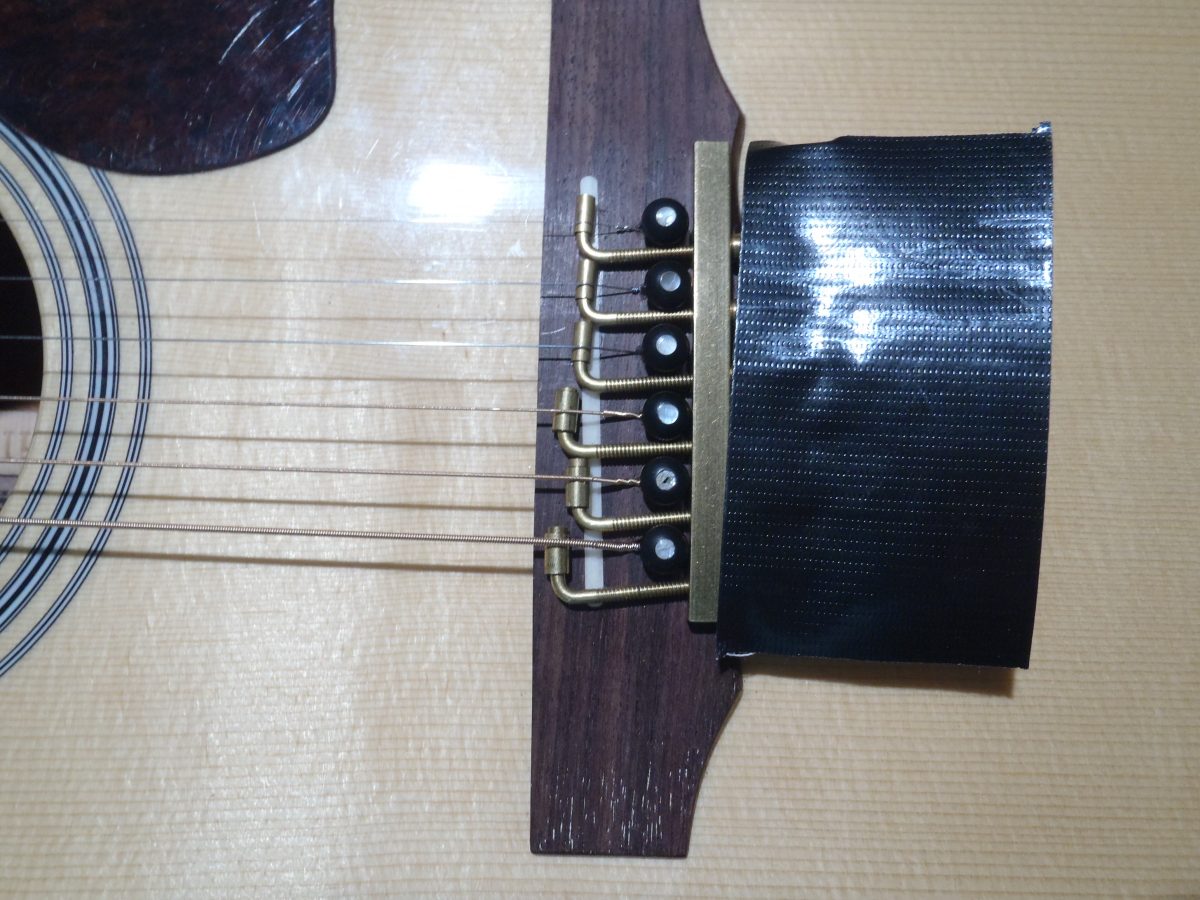
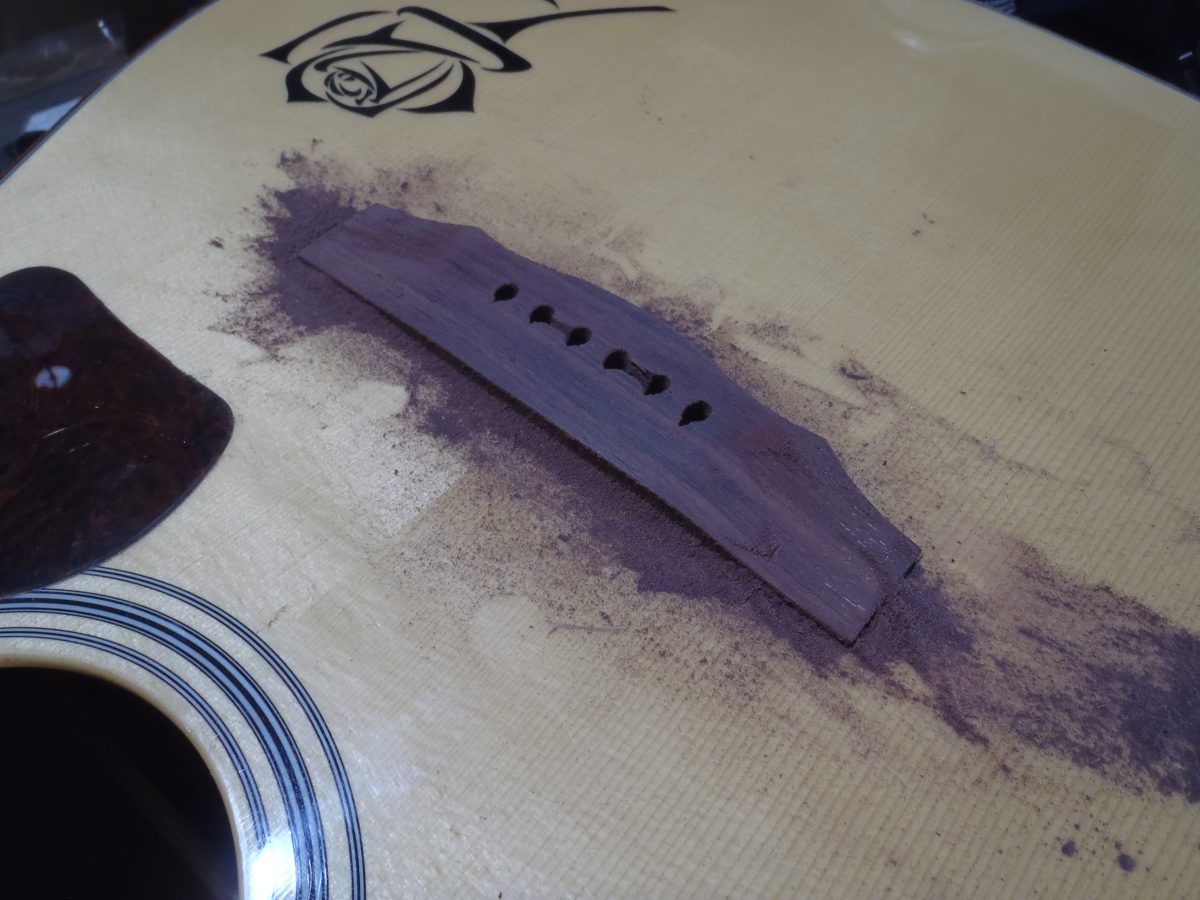
He de-strung again – the saddle channel needed to be filled with wood, and sanded down flush.
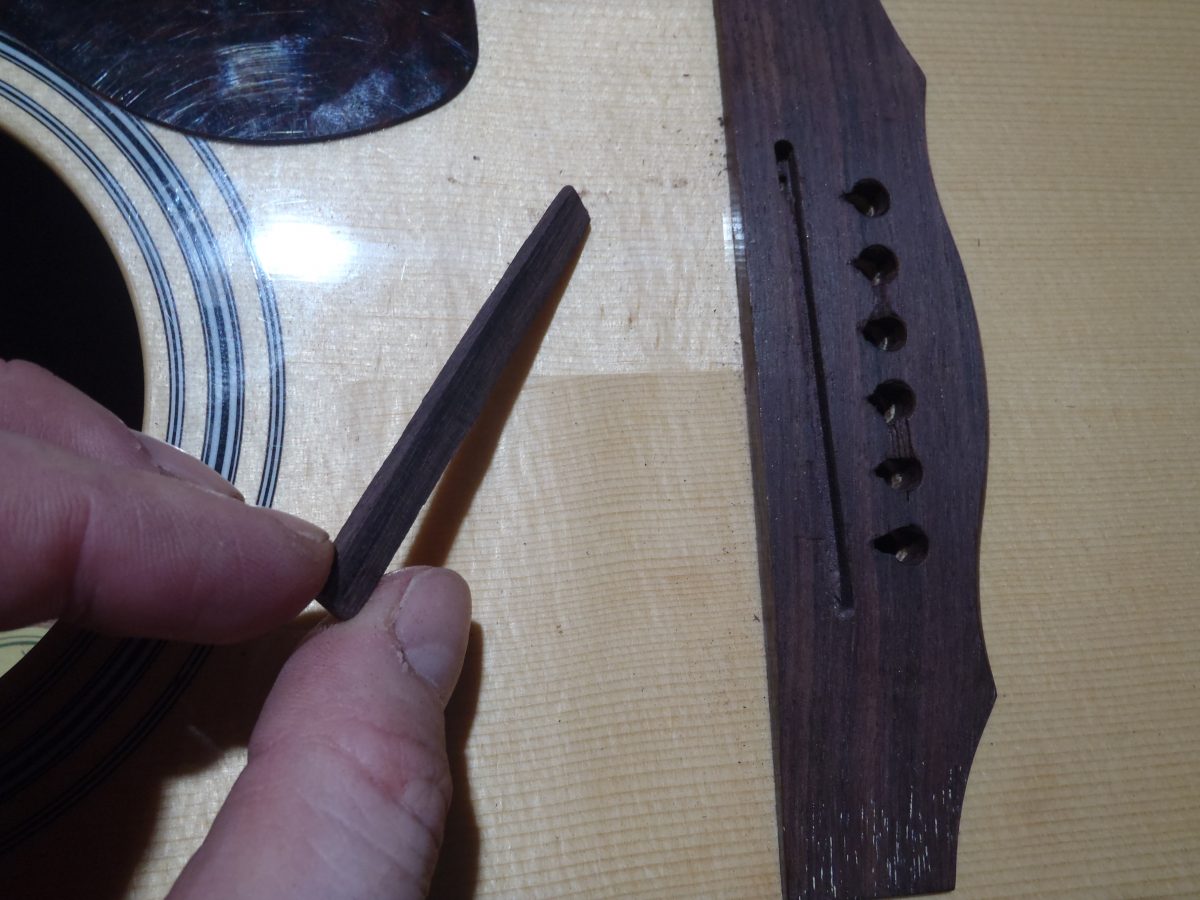
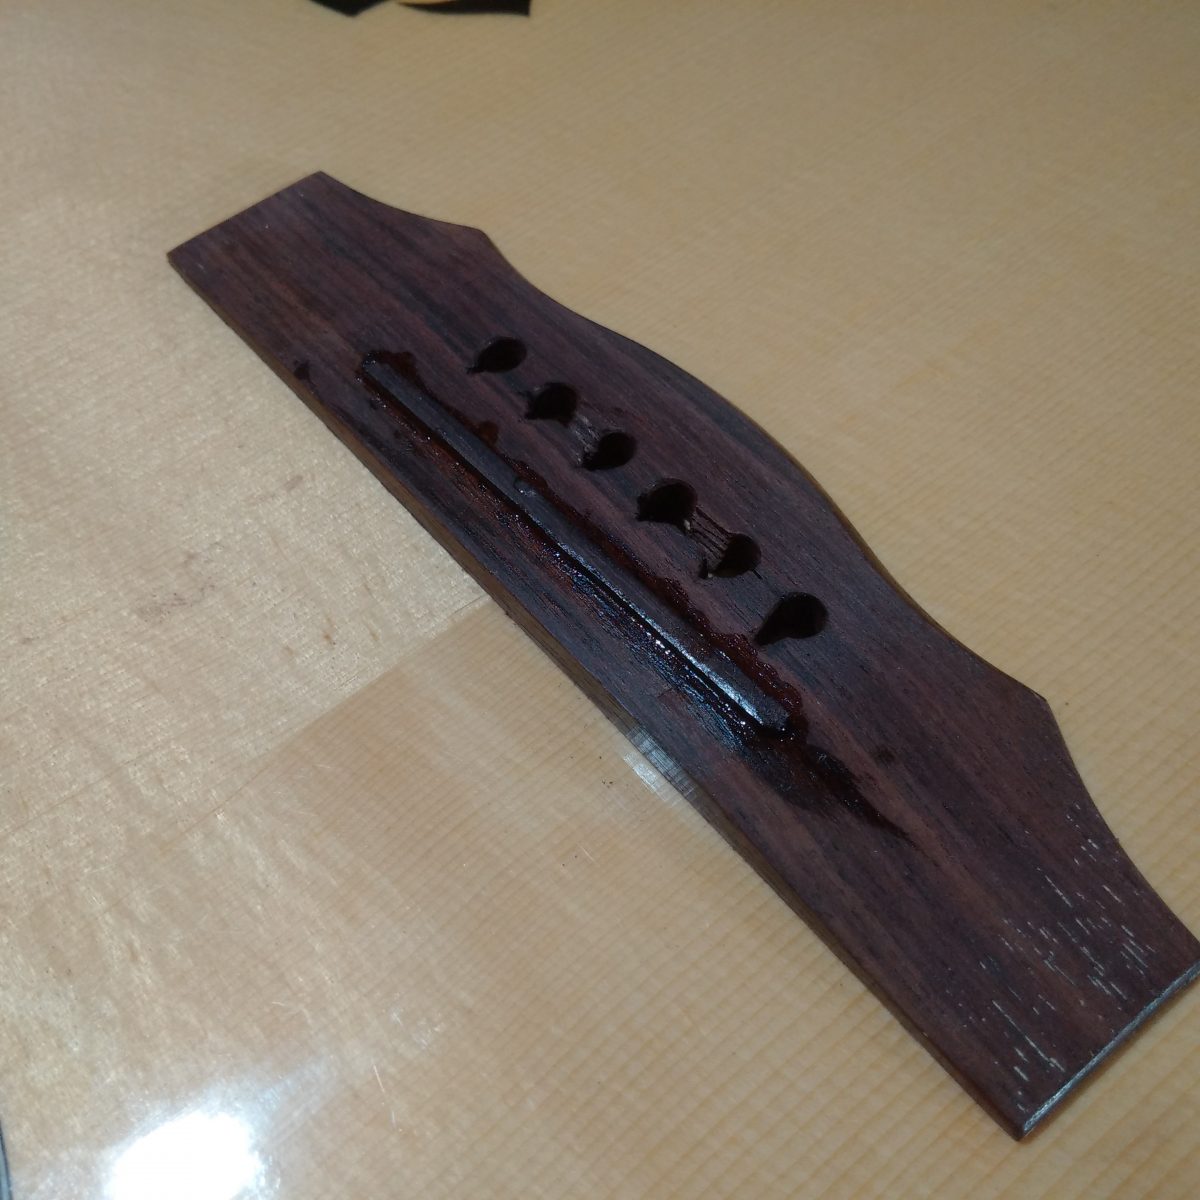
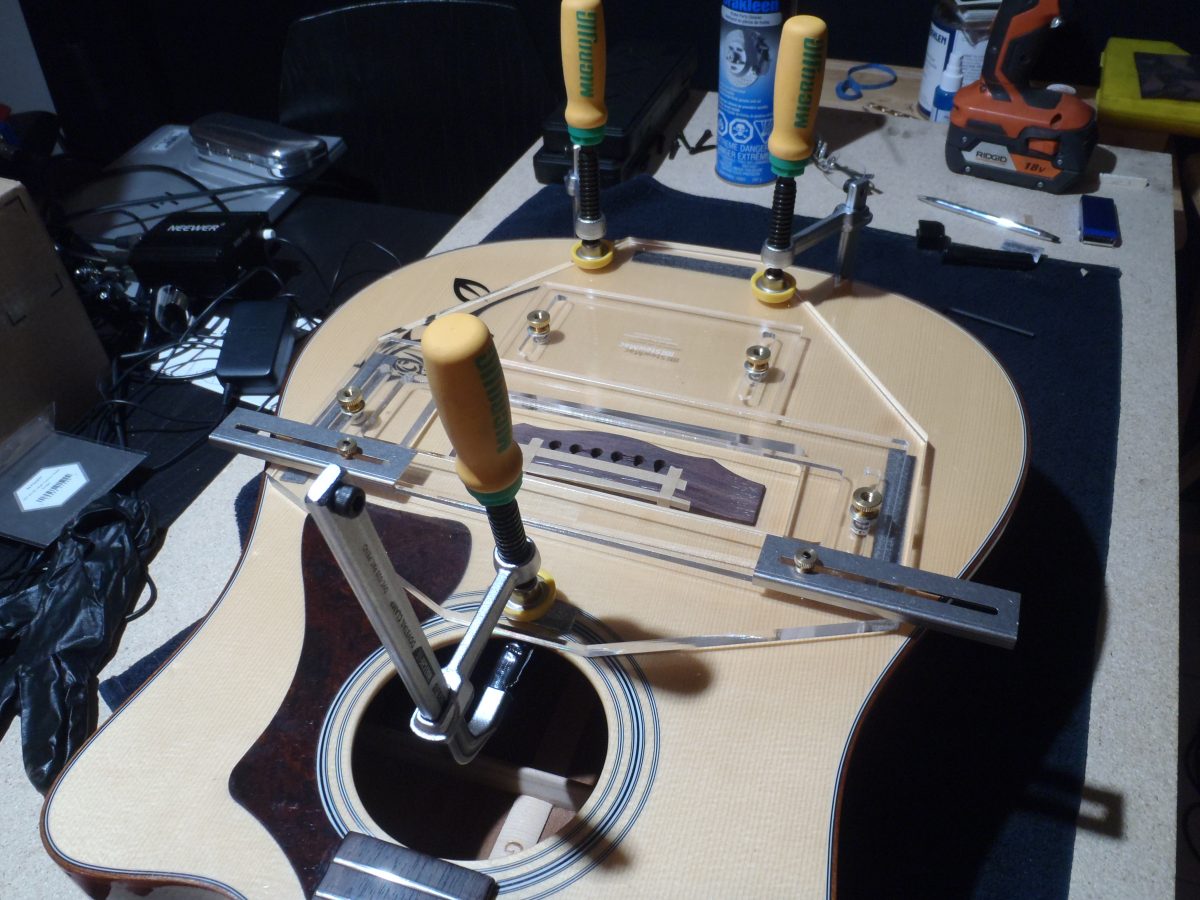
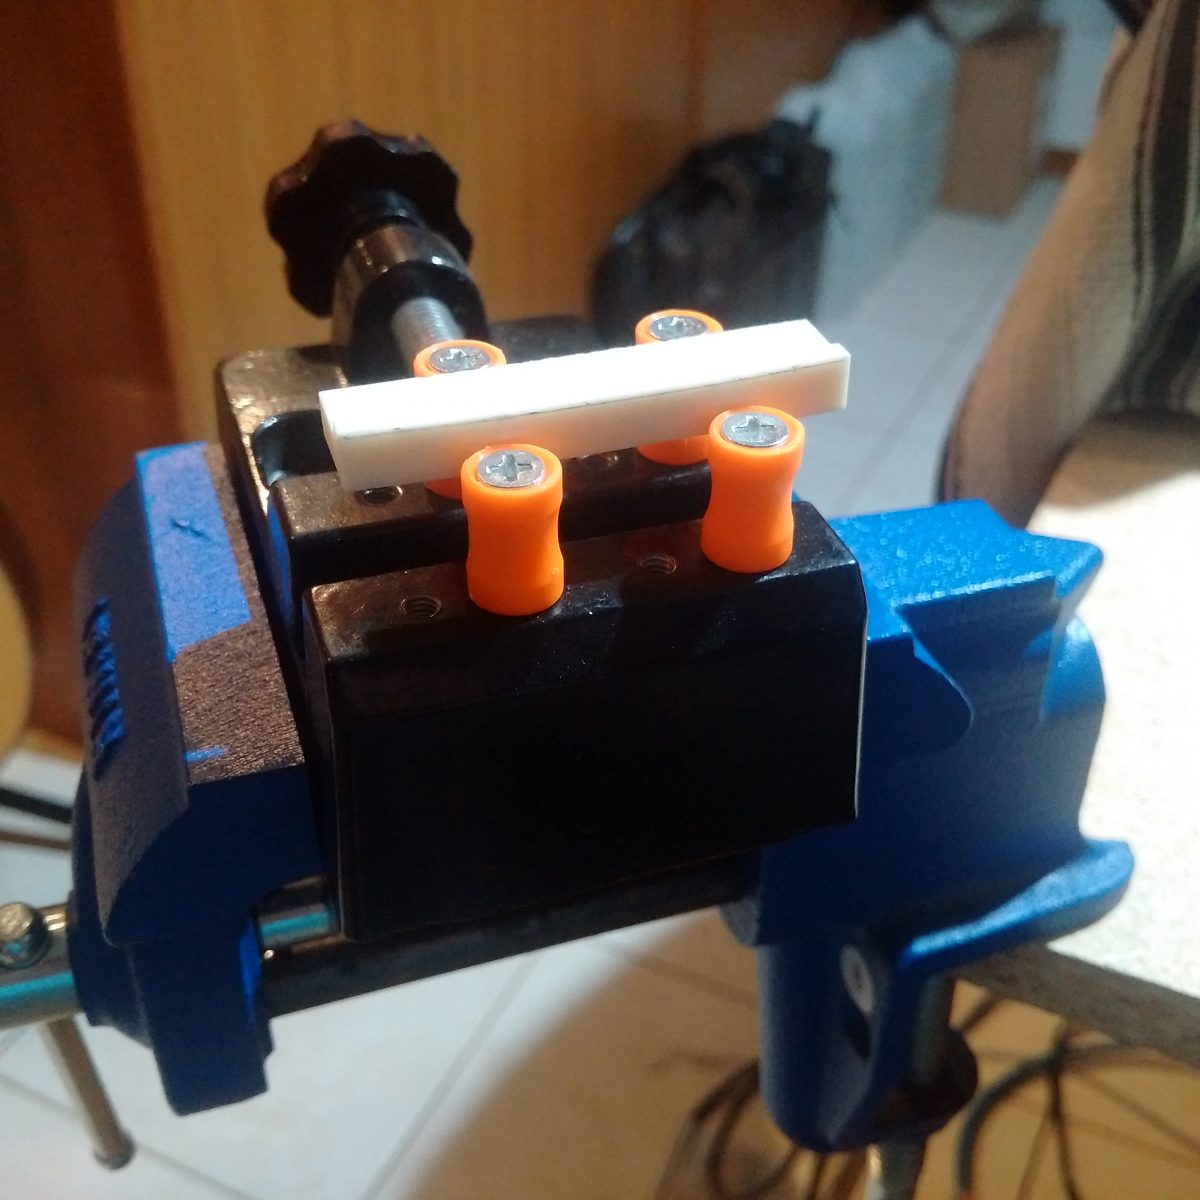
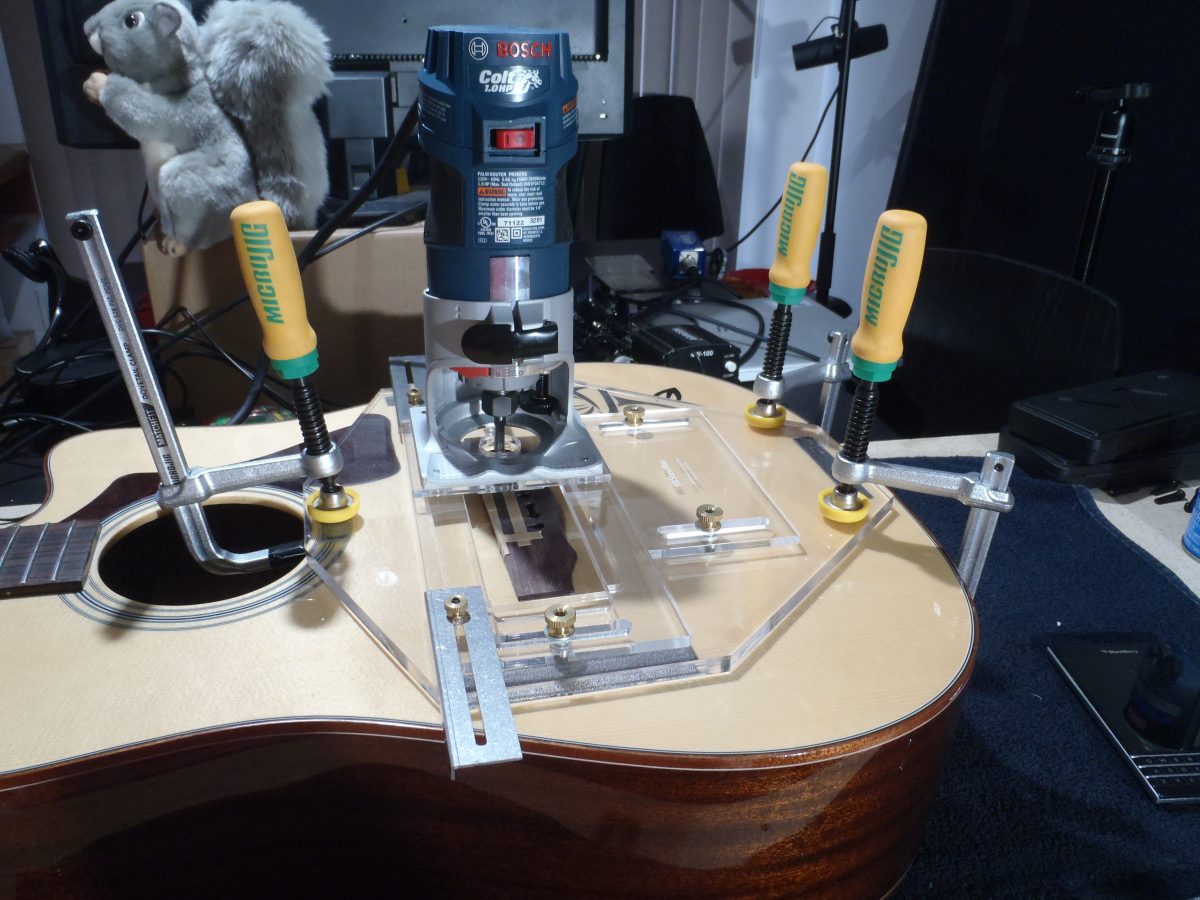
This fancy jig is to guide the router when routing a new channel for the new saddle.
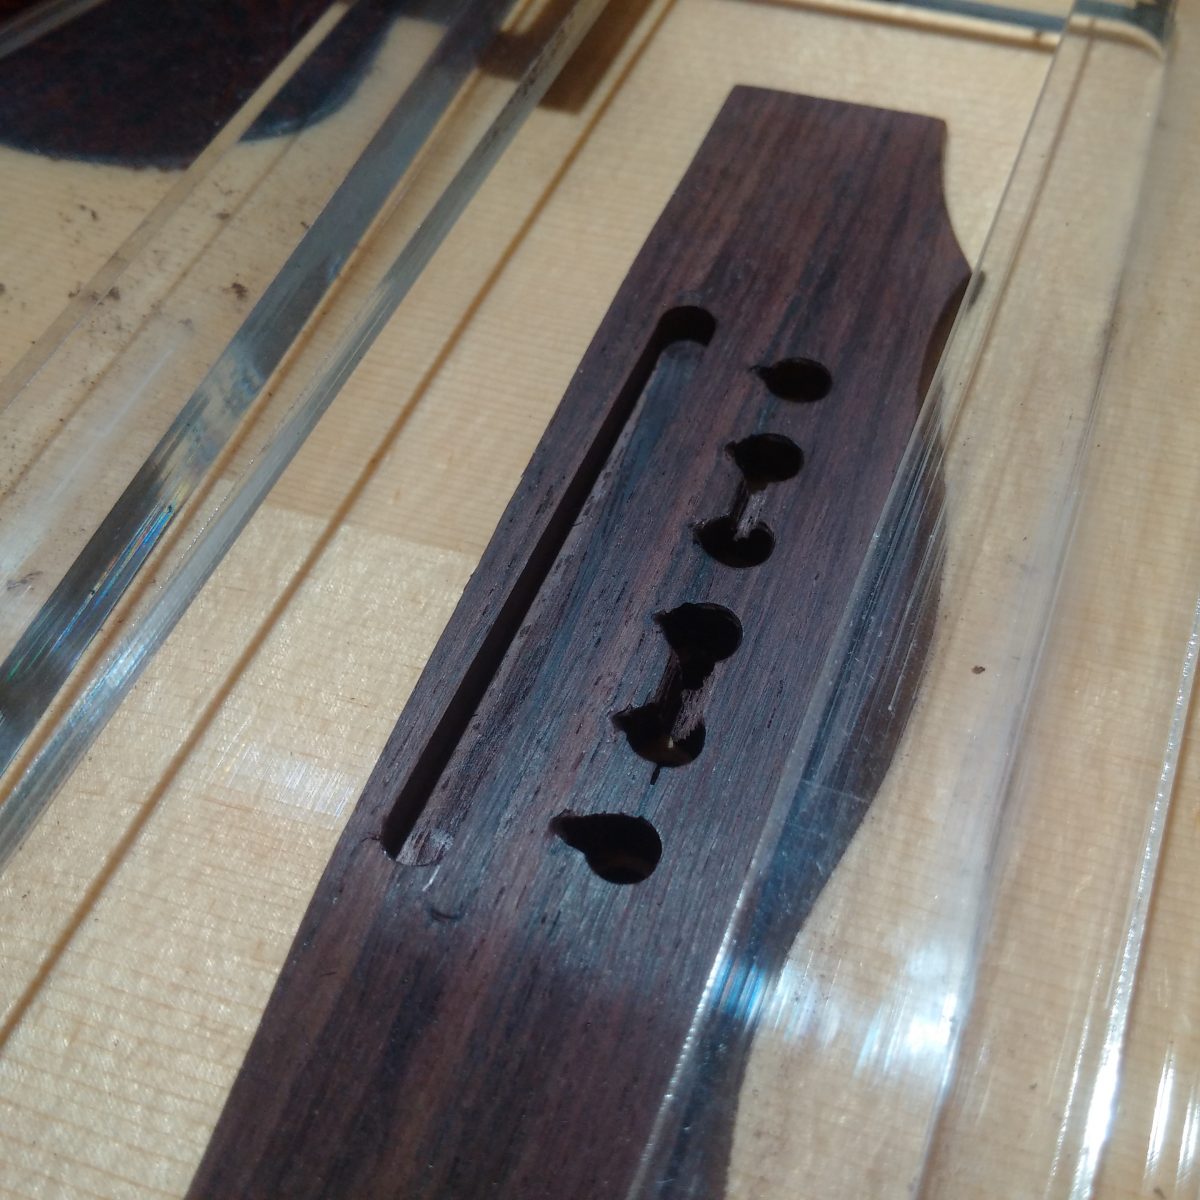
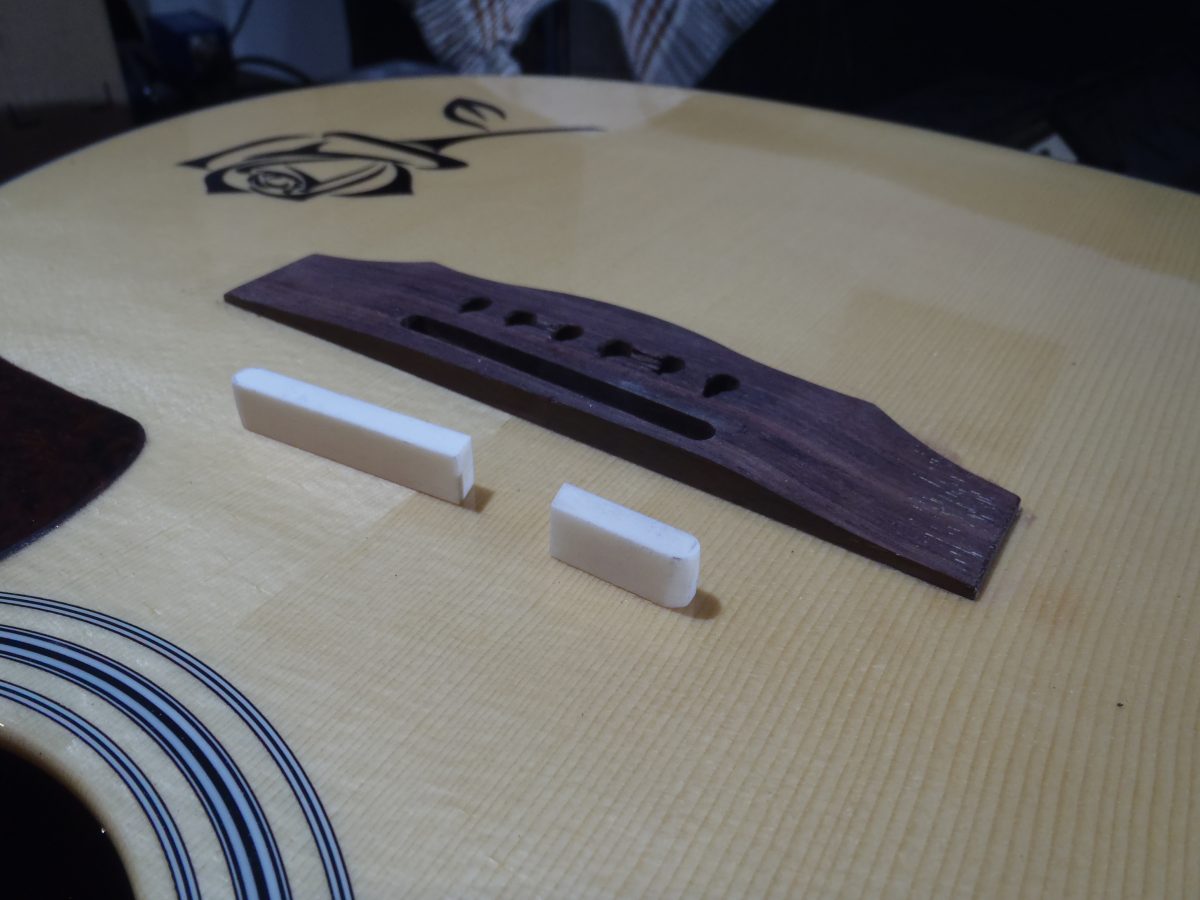
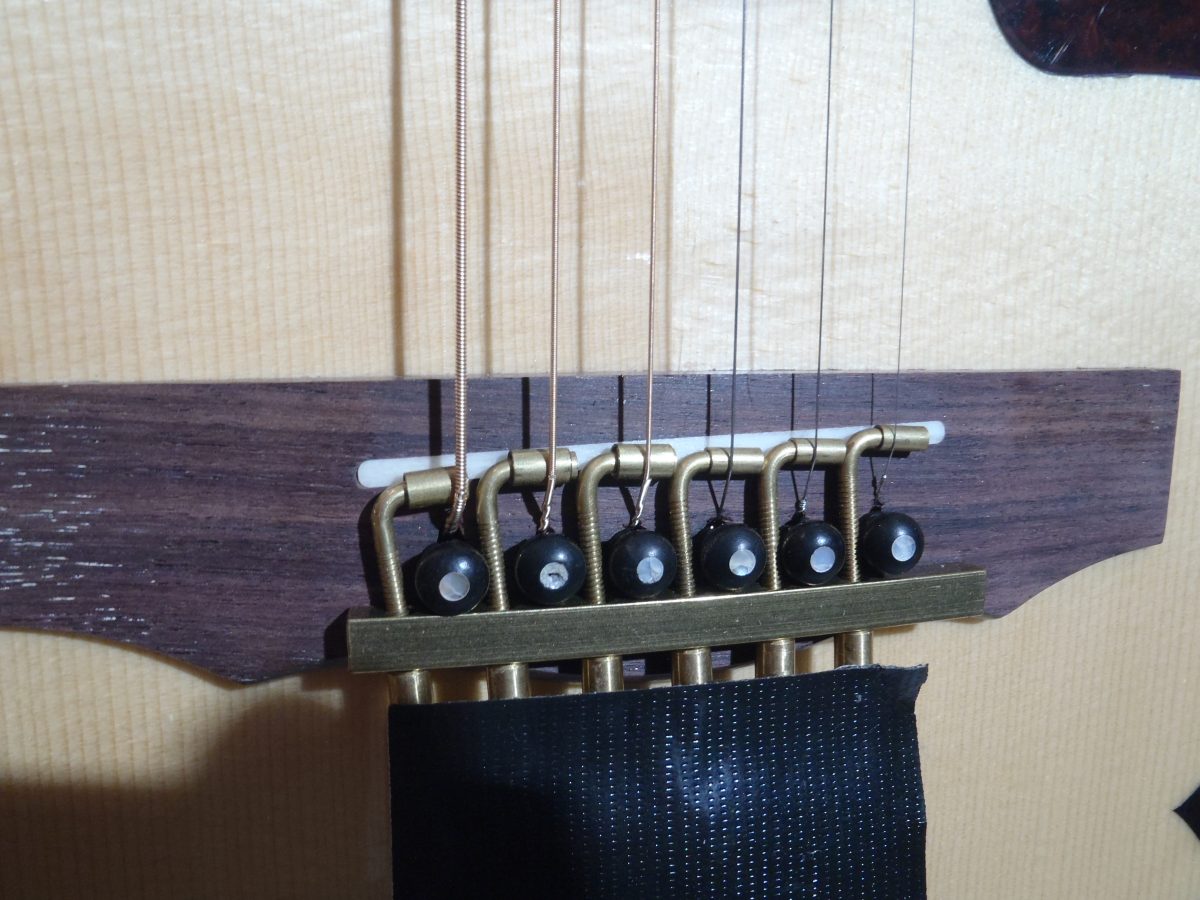
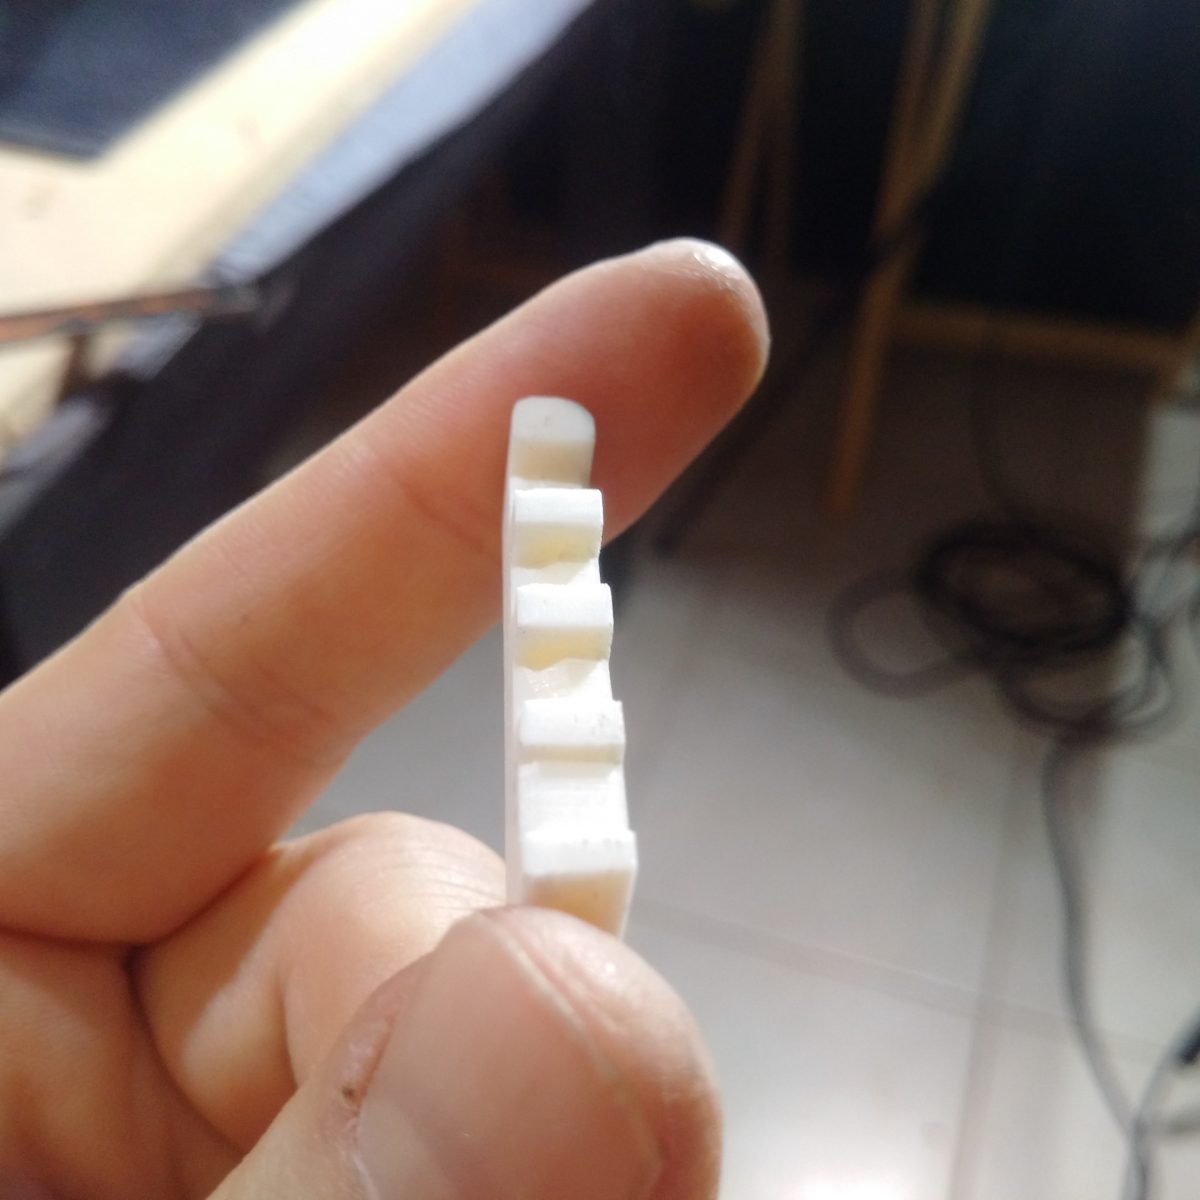
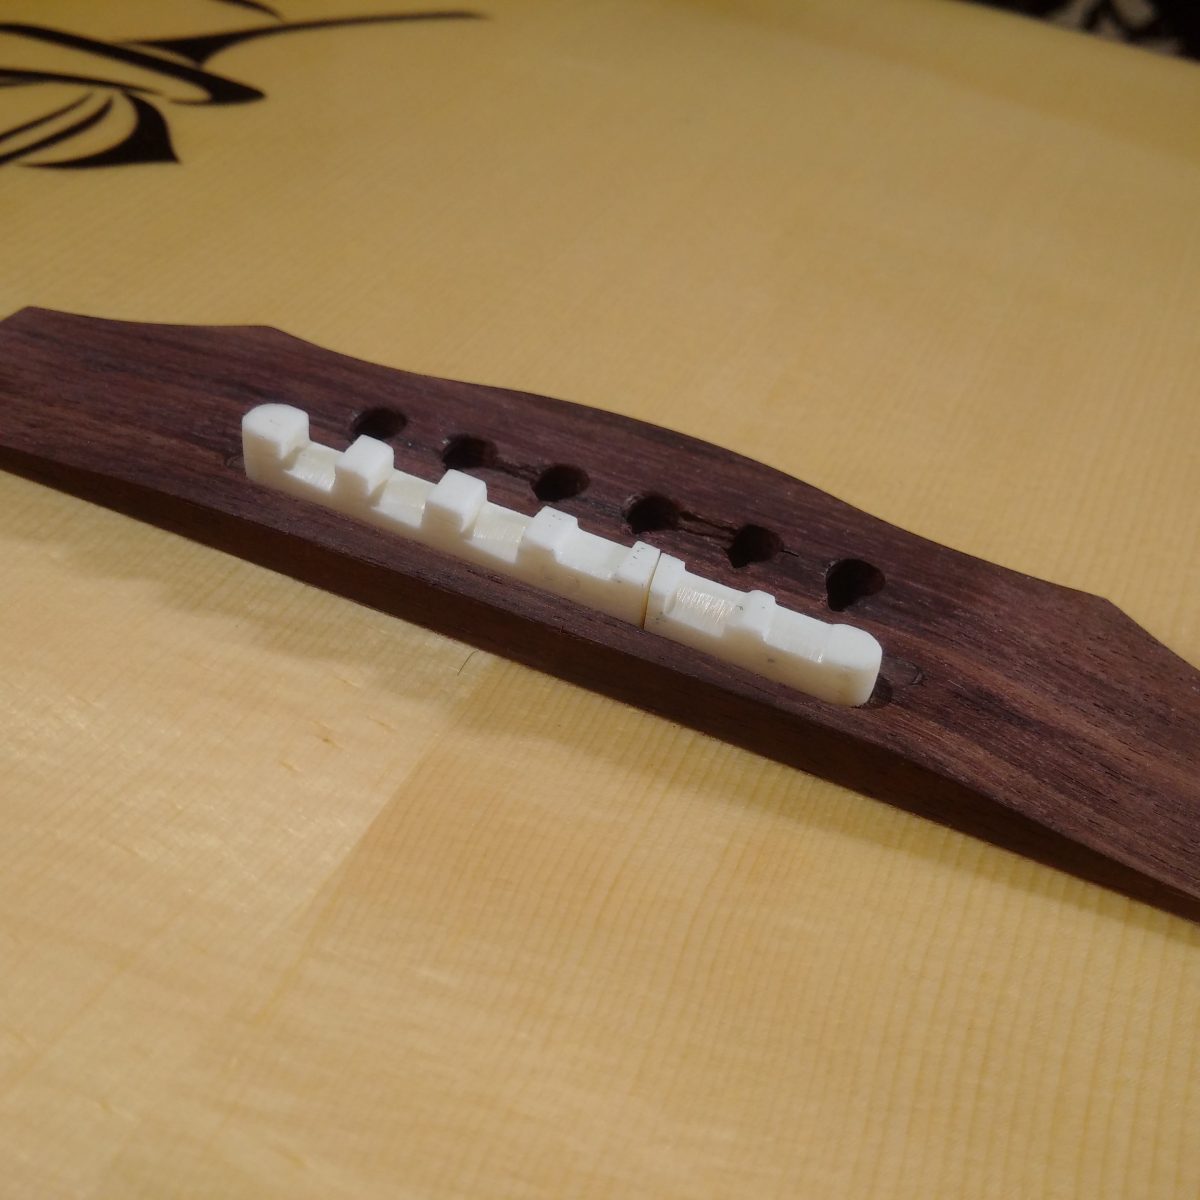
The new saddle was to be a two-piece. Note, the saddle and the nut are made of real bone. Leigh couldn’t decide if bone dust smells like Kentucky fried chicken, or rotting meat. Maybe it was both. Either way, bone dust was everywhere after hours of sanding and filing.
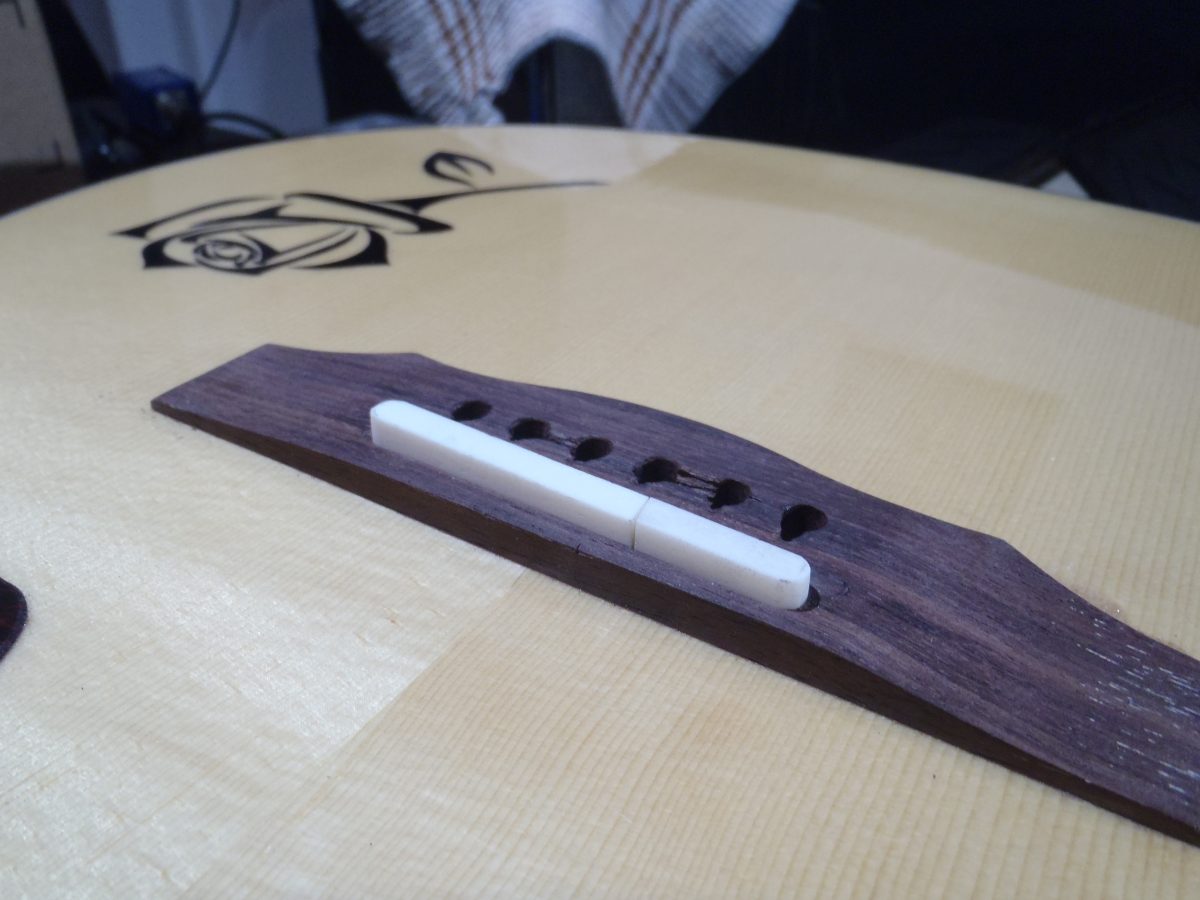

Saddle heights (as determined through careful measurement back at the intonator stage) were carefully filed using the Freeman pencil technique.
Then Leigh filed all the string break points.
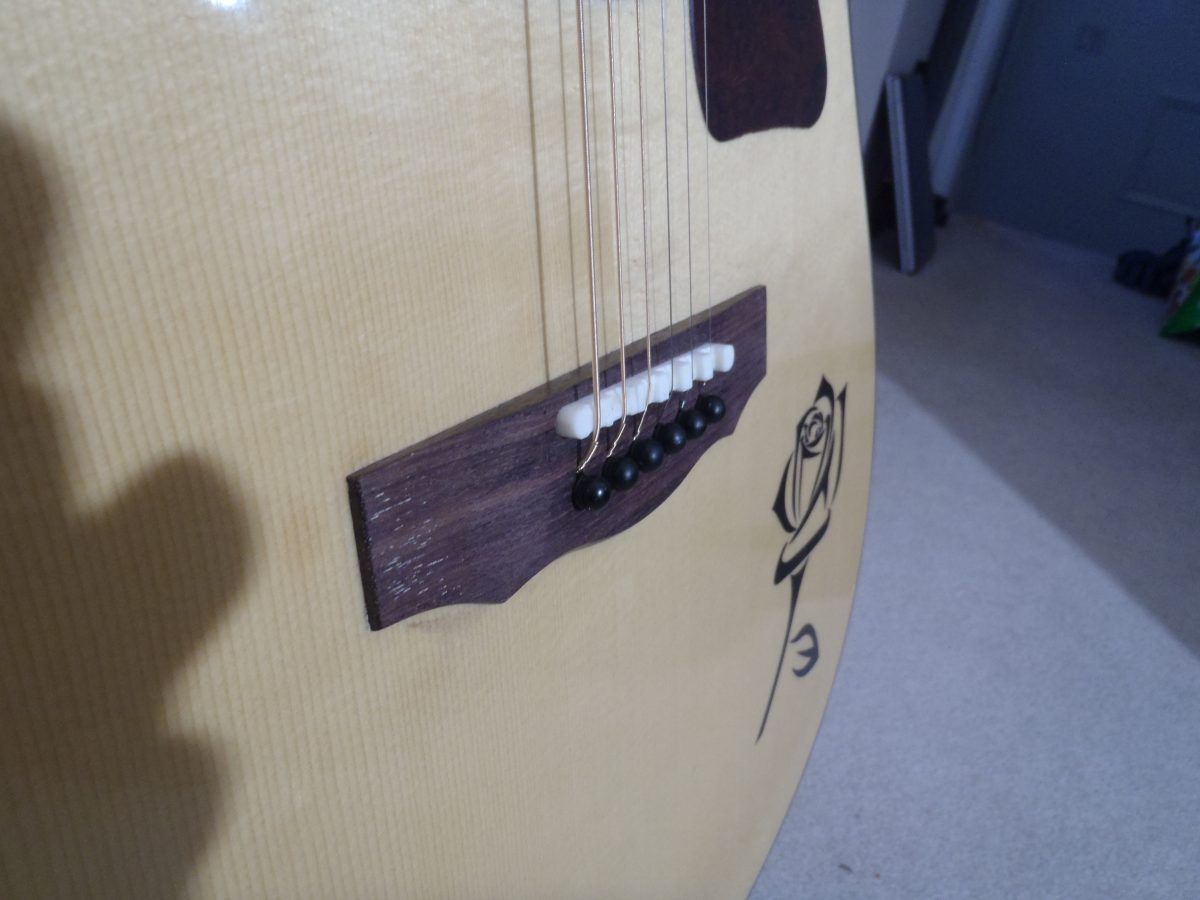
Project complete and the guitar sounds about $380 better.
Check out the sound clips below and hear the difference!
Before Buzz Feiten retrofit:
After Buzz Feiten retrofit: